Address
[wueseai_login_modal button_text="Sign In Now" button_class="px-6 py-3 bg-green-500 text-white rounded-full"]
Work Hours
Monday to Friday: 7AM - 7PM
Weekend: 10AM - 5PM
Address
[wueseai_login_modal button_text="Sign In Now" button_class="px-6 py-3 bg-green-500 text-white rounded-full"]
Work Hours
Monday to Friday: 7AM - 7PM
Weekend: 10AM - 5PM

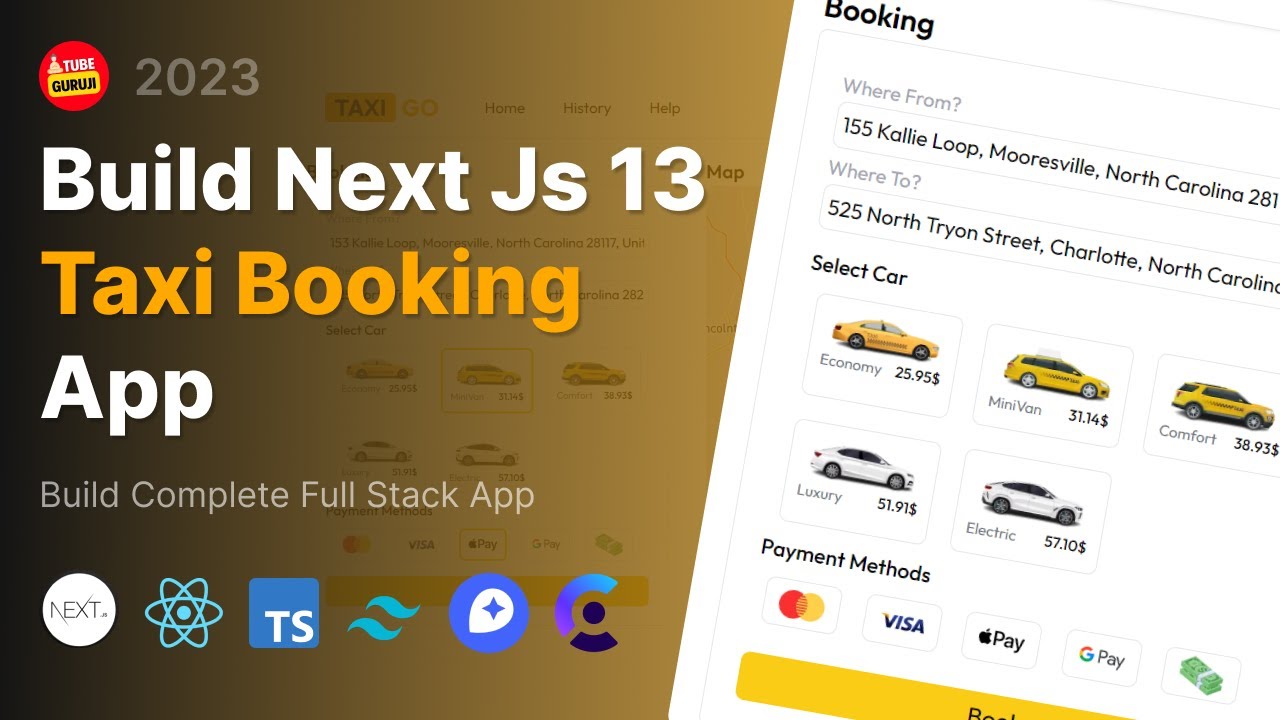
Ready to build your own taxi booking application? This article walks you through the process of creating a beautiful and functional app using Next.js 13, TypeScript, Tailwind CSS, Mapbox API, and Clerk for authentication. The following content is based on an accompanying video showing the full process.
This guide covers the essential steps to develop a taxi booking application from scratch. You’ll learn how to integrate Clerk for user authentication, design the user interface with Tailwind CSS, and utilize the Mapbox API for geocoding, routing, and displaying interactive maps. We’ll also delve into Next.js 13’s app router, API endpoint creation, and database integration to build a complete and robust taxi booking platform.
The foundation of our taxi booking app is Next.js 13. Next.js provides a robust framework for building performant and scalable web applications. Here’s how to get started:
First, ensure you have Node.js installed. Then, open your terminal and navigate to the desired directory for your project. Use the following command to create a new Next.js 13 project:
npx create-next-app@latest
The CLI will prompt you with a series of questions. Let’s walk through the recommended answers:
This setup configures your project with the essential tools and structure for building a modern web application. The App Router is a significant update in Next.js 13, offering a more flexible and powerful way to define routes and layouts.
Secure user authentication is crucial for any taxi booking app. Clerk simplifies this process by providing pre-built UI components and backend services for user management, authentication, and authorization.
Integrating Clerk involves the following steps:
npm install @clerk/nextjs or yarn add @clerk/nextjs.Clerk handles the complexities of user authentication, allowing you to focus on building the core features of your taxi booking app. You can easily customize the UI of the authentication components to match your app’s design.
Tailwind CSS is a utility-first CSS framework that enables you to rapidly prototype and build custom user interfaces. It provides a set of pre-defined CSS classes that you can use to style your HTML elements directly.
Key benefits of using Tailwind CSS:
For the taxi booking app, you can use Tailwind CSS to create the following UI elements:
Tailwind CSS simplifies the process of creating a visually appealing and user-friendly interface for your taxi booking application.
Mapbox API provides powerful tools for integrating maps, geocoding, and routing into your application. For the taxi booking app, we’ll use Mapbox to:
To integrate Mapbox API:
npm install mapbox-gl or yarn add mapbox-gl.Mapbox API provides a comprehensive set of tools for integrating mapping and location-based services into your taxi booking app.
Next.js 13’s App Router simplifies the creation of API endpoints. You can define API routes within the app/api directory. Each file in this directory corresponds to an API endpoint.
For the taxi booking app, you might need the following API endpoints:
To create an API endpoint, create a new file in the app/api directory (e.g., app/api/geocode/route.ts). Inside this file, define the HTTP methods you want to support (e.g., GET, POST, PUT, DELETE). Each method should be a separate function that handles the corresponding request.
Example API endpoint for geocoding:
typescript // app/api/geocode/route.ts import { NextRequest, NextResponse } from ‘next/server’;
export async function GET(request: NextRequest) { const address = request.nextUrl.searchParams.get(‘address’);
if (!address) { return NextResponse.json({ error: ‘Address is required’ }, { status: 400 }); }
// Call the Mapbox Geocoding API
const response = await fetch(https://api.mapbox.com/geocoding/v5/mapbox.places/${address}.json?access_token=YOUR_MAPBOX_API_KEY);
const data = await response.json();
return NextResponse.json(data); }
This example demonstrates how to create a simple API endpoint that accepts an address as a query parameter and returns the geocoding results from the Mapbox API.
Next.js 13 offers several advantages, including improved performance, simplified routing with the App Router, built-in support for TypeScript, and easy API endpoint creation.
Both Clerk and Mapbox API offer free tiers with usage limits. Depending on your application’s needs, you may need to upgrade to a paid plan.
Yes, you can use other CSS frameworks or write custom CSS. However, Tailwind CSS is recommended for its rapid development capabilities and consistent design language.
You can use any database that is compatible with Next.js, such as MongoDB, PostgreSQL, or MySQL. The choice depends on your specific requirements and preferences.
Building a taxi booking application with Next.js 13, TypeScript, Tailwind CSS, and Mapbox API is an exciting project that combines various technologies. By following the steps outlined in this article, you can create a functional and visually appealing app that meets the needs of your users. Remember to leverage the power of each technology to build a robust and scalable platform. Happy coding!
Credit: Creator
Credit: Writer
Credit: Reviewer