Address
[wueseai_login_modal button_text="Sign In Now" button_class="px-6 py-3 bg-green-500 text-white rounded-full"]
Work Hours
Monday to Friday: 7AM - 7PM
Weekend: 10AM - 5PM
Address
[wueseai_login_modal button_text="Sign In Now" button_class="px-6 py-3 bg-green-500 text-white rounded-full"]
Work Hours
Monday to Friday: 7AM - 7PM
Weekend: 10AM - 5PM

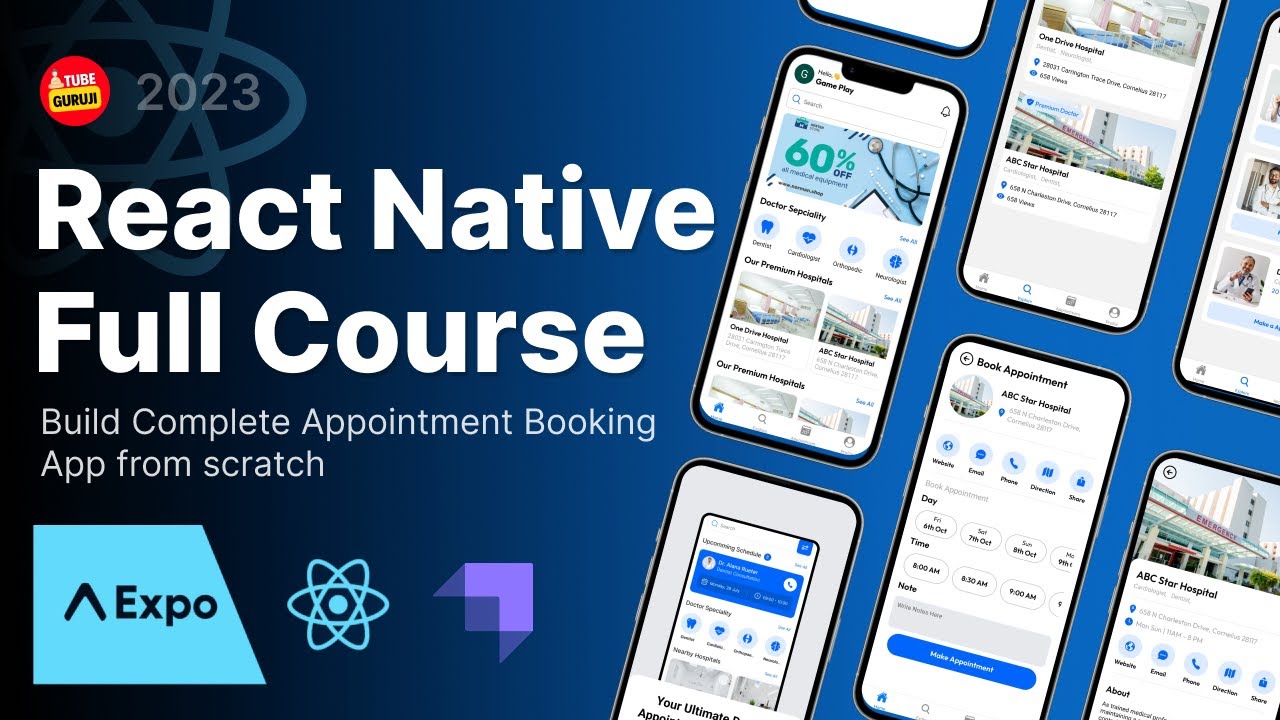
Ready to build a real-world mobile application? This article outlines a comprehensive, beginner-friendly React Native course focused on creating a fully functional doctor appointment booking application. You’ll learn to integrate technologies like React, React Native, Expo, and Strapi from scratch. An accompanying video walks through the full process.
This course guides you through building a complete doctor appointment booking app using React Native, Expo, and Strapi. You’ll learn to create a user-friendly interface with features like Google authentication, dynamic data display from a Strapi backend, category browsing, hospital details, and appointment booking functionality. The course emphasizes reusable components and efficient coding practices, providing a solid foundation for React Native development.
Exploring the Application’s Features The application boasts a clean and intuitive user interface. Upon launching, you’re greeted with a login page that integrates Google authentication for a seamless user experience. After successful login, users land on the home screen, which displays their name, a search bar, and a dynamic slider showcasing various offers and information. The home screen also features a list of categories and premium hospitals, all populated with data fetched from a Strapi backend using APIs. This allows for easy content management and updates without requiring changes to the application itself. Browsing Categories and Hospital Details Clicking on a category, such as “Dentist,” leads to a list of relevant hospitals. The course covers how to design this list, including styling and loading animations. Selecting a specific hospital displays detailed information, including quick action buttons for calling, visiting the website, or sending an email. The hospital details screen also features an “About” section, providing further information about the hospital’s services and expertise. This comprehensive display ensures users have all the necessary information to make informed decisions. Booking Appointments The core functionality of the application is the appointment booking feature. Users can select a preferred date and time, add special notes, and then book their appointment. Upon successful booking, a confirmation message is displayed, and the appointment is added to the user’s appointment list. Leveraging Reusable Components A key aspect of efficient development is the use of reusable components. The course emphasizes how to leverage existing components to avoid rewriting code, saving time and effort. This is demonstrated in various sections of the application, such as the “Explore” section, where an existing component is used to display information. By understanding how to effectively reuse components, developers can create more maintainable and scalable applications. This is a crucial skill for any React Native developer. Social Authentication with Clerk The course covers integrating social authentication using Clerk, a powerful tool for managing user authentication. This allows users to easily sign up and log in using their existing social media accounts, providing a seamless and convenient experience. By integrating Clerk, the application benefits from enhanced security and a simplified authentication process, making it more appealing to users. Setting Up Your Development Environment with Expo The course utilizes Expo, a popular build tool for React Native applications, especially for beginners. Expo simplifies the development process by providing a range of tools and services, making it easier to create, test, and deploy React Native applications. Expo offers excellent documentation and a user-friendly interface, making it an ideal choice for those new to React Native development. It handles much of the complexity involved in setting up a development environment, allowing developers to focus on writing code. To create a new Expo project, you can use the following command in your terminal:npx create-expo-app [your-app-name] --latest
Replace “[your-app-name]” with the desired name for your application. This command will set up a new React Native project with Expo, providing a solid foundation for building your doctor appointment booking app.
Key Takeaways
Credit: Creator
Credit: Writer
Credit: Reviewer