Address
[wueseai_login_modal button_text="Sign In Now" button_class="px-6 py-3 bg-green-500 text-white rounded-full"]
Work Hours
Monday to Friday: 7AM - 7PM
Weekend: 10AM - 5PM
Address
[wueseai_login_modal button_text="Sign In Now" button_class="px-6 py-3 bg-green-500 text-white rounded-full"]
Work Hours
Monday to Friday: 7AM - 7PM
Weekend: 10AM - 5PM

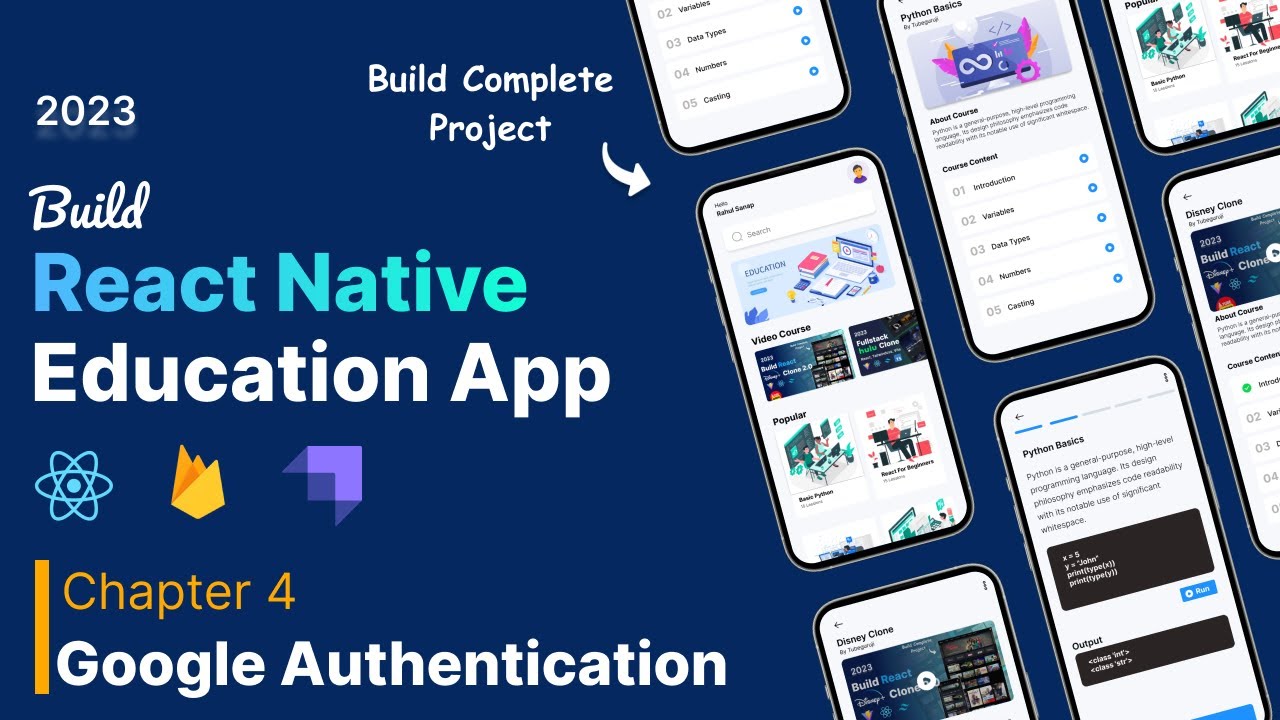
This article explains how to integrate Google authentication into your Expo React Native application. Google authentication allows users to sign in to your app using their existing Google accounts, providing a seamless and secure login experience. An accompanying video walks through the full process.
Setting up Google authentication with Expo can seem tricky. This guide simplifies the process, taking you through installing the necessary library, configuring your Google Cloud project, and obtaining the required credentials (Android client ID, iOS client ID, and web client ID). You’ll learn how to create a project in Google Cloud, configure the OAuth consent screen, and generate the necessary SHA-1 certificate fingerprint. Finally, you’ll implement the Google sign-in functionality in your Expo app.
Installing the Required Library
The first step is to install the Expo Google Authentication library. This library simplifies the process of interacting with Google’s authentication services within your Expo application.
Open your terminal, navigate to your project directory, and run the following command:
expo install expo-auth-session expo-random
This command installs both the expo-auth-session and expo-random libraries, which are necessary for handling the authentication flow and generating secure random values, respectively.
Setting Up Your Google Cloud Project
Next, you need to configure a project in the Google Cloud Console to enable Google Sign-In for your application.
Configuring the OAuth Consent Screen
The OAuth consent screen is what users will see when they sign in with Google. It tells them what information your app is requesting.
Creating Credentials
Now you need to create the credentials that your app will use to authenticate with Google.
app.json file under the android.package key. For example: com.yourcompany.yourappTo get the SHA-1 certificate fingerprint, follow these steps:
npm install -g eas-clieas.json in your project’s root directory with the following content: {
"build": {
"development": {
"distribution": "internal",
"android": {
"gradleCommand": ":app:assembleDebug"
},
"ios": {
"buildConfiguration": "Debug"
}
},
"preview": {
"distribution": "internal"
},
"production": {}
},
"submit": {
"production": {}
}
}
eas credentialsYou’ll now have an Android client ID. You might also need an iOS client ID and a web client ID depending on the platforms you are targeting. Follow the same process, selecting "iOS" or "Web application" as the application type when creating the credentials.
Implementing Google Sign-In in Your Expo App
Now that you have the necessary credentials, you can implement the Google Sign-In functionality in your Expo app.
First, import the necessary modules from the expo-auth-session and expo-random libraries:
javascript import as AuthSession from ‘expo-auth-session’; import as Random from ‘expo-random’; import { Platform } from ‘react-native’;
Then, define your Google authentication request:
javascript const discovery = { authorizationEndpoint: ‘https://accounts.google.com/o/oauth2/v2/auth‘, tokenEndpoint: ‘https://www.googleapis.com/oauth2/v4/token‘, };
const useProxy = Platform.select({ web: true, default: false }); const redirectUri = AuthSession.makeRedirectUri({ useProxy });
Replace YOUR_ANDROID_CLIENT_ID, YOUR_IOS_CLIENT_ID, and YOUR_WEB_CLIENT_ID with the actual client IDs you obtained from the Google Cloud Console.
Create a function to handle the Google Sign-In process:
javascript const [request, response, promptAsync] = AuthSession.useAuthRequest( { clientId: YOUR_WEB_CLIENT_ID, // Use web client ID for both Android and iOS scopes: [‘profile’, ’email’], redirectUri, }, discovery );
React.useEffect(() => { if (response?.type === ‘success’) { const { authentication } = response; getUserInfo(authentication.accessToken); } }, [response]);
const getUserInfo = async (token) => { if (!token) { return; }
try {
  const userInfoResponse = await fetch('https://www.googleapis.com/userinfo/v2/me', {
    headers: { Authorization: `Bearer ${token}` },
  });

  const userInfo = await userInfoResponse.json();
  console.log(userInfo)
} catch (error) {
  console.log(error)
}
}
const signInWithGoogle = () => { promptAsync(); };
This code uses the useAuthRequest hook from expo-auth-session to handle the authentication flow. The promptAsync function initiates the Google Sign-In process when called.
Finally, add a button to your UI that calls the signInWithGoogle function when pressed:
javascript
When the user presses the button, they will be redirected to the Google Sign-In page. After they sign in, they will be redirected back to your app, and you can retrieve their user information using the access token.
Remember to handle errors and edge cases appropriately in your production application.
Key Takeaways
expo-auth-session library simplifies the integration process in Expo React Native apps.FAQ
Why am I getting an "invalid_request" error?
This usually means that your redirect URI is not configured correctly in the Google Cloud Console, or the client ID in your app doesn’t match the one in Google Cloud. Double-check these settings.
Can I use the same client ID for both Android and iOS?
While technically possible in some cases, it’s generally recommended to create separate client IDs for each platform to ensure proper configuration and security.
How do I handle user logout?
Google doesn’t provide a universal logout API. You’ll typically need to clear the user’s access token and any stored user information in your app.
Is it safe to store the access token in local storage?
Storing access tokens in local storage can be risky, especially on web platforms. Consider using more secure storage options like the Expo SecureStore API or platform-specific secure storage mechanisms.
What are the best practices for handling errors during the authentication process?
Implement proper error handling to catch potential issues like network errors, invalid credentials, or server-side problems. Display informative error messages to the user and provide options to retry or seek assistance.
Integrating Google authentication into your Expo React Native app can significantly improve user experience and security. By following these steps and understanding the key concepts, you can seamlessly add Google Sign-In to your application and provide a convenient login option for your users. Remember to always prioritize security and follow best practices for handling user data and access tokens. Properly configured Google Authentication provides peace of mind for you and your users.
Credit: Creator
Credit: Writer
Credit: Reviewer