Address
[wueseai_login_modal button_text="Sign In Now" button_class="px-6 py-3 bg-green-500 text-white rounded-full"]
Work Hours
Monday to Friday: 7AM - 7PM
Weekend: 10AM - 5PM
Address
[wueseai_login_modal button_text="Sign In Now" button_class="px-6 py-3 bg-green-500 text-white rounded-full"]
Work Hours
Monday to Friday: 7AM - 7PM
Weekend: 10AM - 5PM

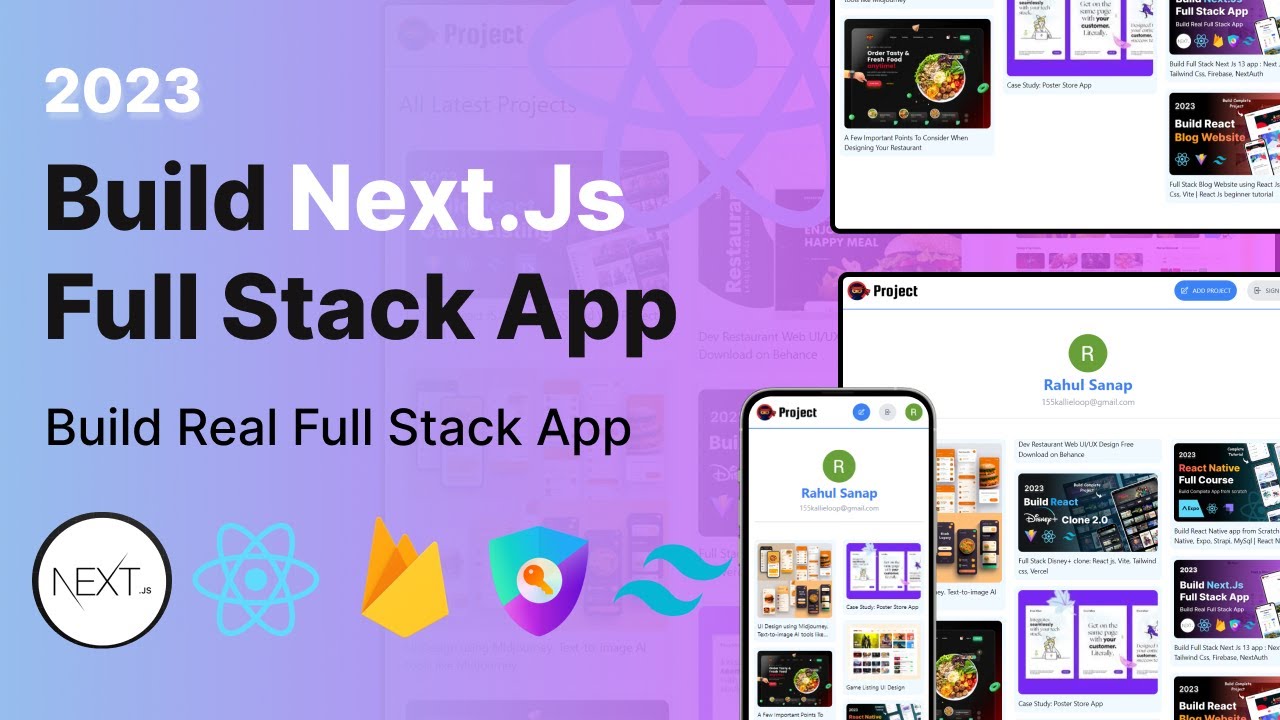
Learn how to build a stunning project portal application using Next.js, Tailwind CSS, React, and Firebase. This project provides a platform for users and developers to showcase their projects. The portal includes features like Google authentication, project submission, and user profiles. An accompanying video walks through the full process.
This tutorial guides you through building a responsive project portal from scratch. It covers essential technologies like Next.js, Tailwind CSS, Firebase Firestore for data storage, and NextAuth.js for Google authentication. You’ll learn how to display project information, implement user authentication, enable project submissions, manage user profiles, and ensure the application is responsive across different screen sizes.
The project portal application allows users to discover and showcase various projects. The home screen displays a list of projects with key information. Clicking on a project reveals more details, including images, technology stack, source links, and the user who posted it.
Key features include:
This project leverages a modern technology stack to provide a robust and scalable solution. Here’s a breakdown of the key technologies used:
Before diving into the code, it’s crucial to set up your development environment. Here’s how to get started:
npx create-next-app project-showcase-portal
Replace "project-showcase-portal" with your desired project name. The command will create a new directory with the basic Next.js project structure.
cd project-showcase-portal
Firebase is used for backend functionalities such as data storage (Firestore) and image storage. To integrate Firebase into your project:
npm install firebase
javascript // Import the functions you need from the SDKs you need import { initializeApp } from "firebase/app"; import { getFirestore } from "firebase/firestore"; import { getStorage } from "firebase/storage";
// Your web app’s Firebase configuration const firebaseConfig = { apiKey: "[YOUR_API_KEY]", authDomain: "[YOUR_AUTH_DOMAIN]", projectId: "[YOUR_PROJECT_ID]", storageBucket: "[YOUR_STORAGE_BUCKET]", messagingSenderId: "[YOUR_MESSAGING_SENDER_ID]", appId: "[YOUR_APP_ID]" };
// Initialize Firebase const app = initializeApp(firebaseConfig); export const db = getFirestore(app); export const storage = getStorage(app);
Replace the placeholder values with your actual Firebase configuration.
NextAuth.js simplifies the process of implementing authentication in Next.js applications. To set up Google authentication:
npm install next-auth
javascript import NextAuth from "next-auth" import GoogleProvider from "next-auth/providers/google"
export default NextAuth({ providers: [ GoogleProvider({ clientId: process.env.GOOGLE_CLIENT_ID, clientSecret: process.env.GOOGLE_CLIENT_SECRET }) ], secret: process.env.NEXTAUTH_SECRET })
Remember to set the GOOGLE_CLIENT_ID, GOOGLE_CLIENT_SECRET, and NEXTAUTH_SECRET environment variables. You can obtain the Google Client ID and Secret from the Google Cloud Console. The NEXTAUTH_SECRET should be a random string for security.
After setting these, you can use the signIn and signOut methods from next-auth/react to manage user authentication.
Tailwind CSS provides a utility-first approach to styling, making it easy to create custom designs without writing CSS from scratch.
npm install -D tailwindcss postcss autoprefixer
npx tailwindcss init -p
css @tailwind base; @tailwind components; @tailwind utilities;
Now you can use Tailwind CSS classes directly in your React components to style the application.
To fetch project data from Firestore and display it in your application:
javascript import { collection, getDocs } from "firebase/firestore"; import { db } from ‘../firebase’;
async function getProjects() { const projectsCollection = collection(db, ‘projects’); const projectSnapshot = await getDocs(projectsCollection); const projectList = projectSnapshot.docs.map(doc => ({ id: doc.id, …doc.data() })); return projectList; }
javascript import { useEffect, useState } from ‘react’; import { getProjects } from ‘../lib/data’;
function ProjectList() { const [projects, setProjects] = useState([]);
useEffect(() => { async function loadProjects() { const projectData = await getProjects(); setProjects(projectData); } loadProjects(); }, []);
return (
); }
Remember to handle loading states and errors appropriately.
Building a project portal involves integrating multiple technologies to create a seamless user experience. Here are some key takeaways from this process:
Next.js is a React framework that enables features like server-side rendering and static site generation, making it ideal for building performant web applications.
Tailwind CSS offers a utility-first approach to styling, allowing developers to rapidly create custom designs without writing verbose CSS.
Firebase provides a suite of backend services, including a NoSQL database (Firestore), authentication, and hosting, which simplifies backend development and reduces the need for custom server infrastructure.
NextAuth.js is an authentication library for Next.js that supports various authentication providers, making it easy to implement secure user authentication.
Using CSS frameworks like Tailwind CSS, you can easily create responsive layouts by applying different utility classes based on screen size.
In conclusion, building a project portal with Next.js, Tailwind CSS, and Firebase involves setting up the development environment, integrating Firebase for backend functionalities, implementing user authentication with NextAuth.js, and styling the application with Tailwind CSS. By following these steps, you can create a robust and user-friendly platform for showcasing projects and connecting with the developer community. Remember to consult the official documentation for each technology to deepen your understanding and explore advanced features.
Credit: Creator
Credit: Writer
Credit: Reviewer