Address
[wueseai_login_modal button_text="Sign In Now" button_class="px-6 py-3 bg-green-500 text-white rounded-full"]
Work Hours
Monday to Friday: 7AM - 7PM
Weekend: 10AM - 5PM
Address
[wueseai_login_modal button_text="Sign In Now" button_class="px-6 py-3 bg-green-500 text-white rounded-full"]
Work Hours
Monday to Friday: 7AM - 7PM
Weekend: 10AM - 5PM

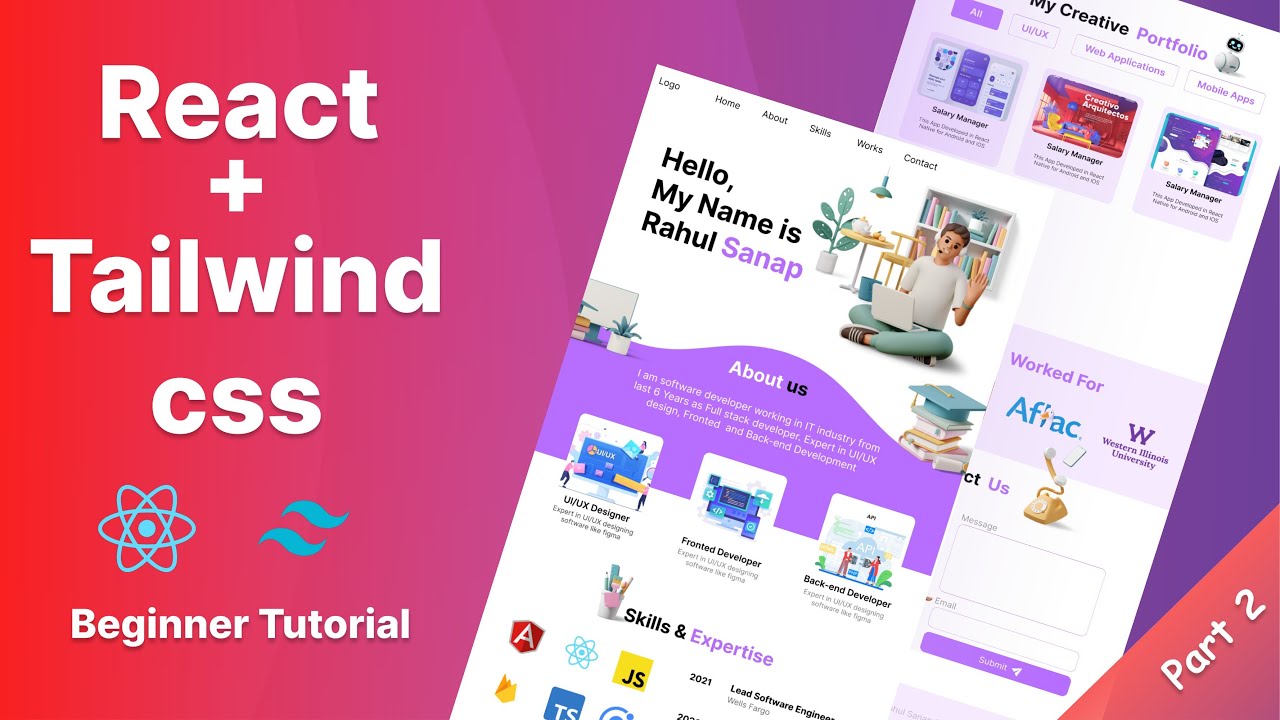
This article continues our series on building a React Native and Tailwind CSS portfolio website from scratch. We focus on the About Me section, including its design and responsive features. An accompanying video walks through the full process.
Learn to create an About Me section in React Native and Tailwind CSS. This guide covers component setup, styling, and adding interactive elements. Perfect for building a responsive portfolio.
We are building a portfolio website from scratch using React Native and Tailwind CSS. In the previous video, we created the navigation bar and hero section. Now, we move to the About Me section.
Start by importing the About Me component into your main app. Ensure the component is properly linked to display in the portfolio. This section will be the foundation for the About Me content.
The About Me section has a purple background and a predefined height. We style the container to be responsive and centered. Use Tailwind classes to set the background color and dimensions.
Add a heading for “About Me” with a two-part design: “About” in one color and “Me” in another. Include a descriptive paragraph below. Use Tailwind for text styling, including font size, weight, and color.
The section includes three roles: Front End Developer, Mac End Developer, and UI Developer. Each item has a hover effect. We create these as interactive elements and style them with Tailwind.
It introduces the portfolio owner and their roles.
Use Tailwind CSS for responsive classes.
Yes, adjust the Tailwind classes to match your brand.
Creating an About Me section in React Native and Tailwind CSS is straightforward. It enhances the portfolio with a personal touch. Follow the steps for a responsive and interactive design.
Credit: Creator
Credit: Writer
Credit: Reviewer